How to Recover Data Deleted from the Recycle Bin
You emptied the Recycle Bin and immediately regretted it. The good news: those files almost certainly still exist on your drive. Here's how to get them back.
Stop using your computer now. Check Previous Versions (right-click the folder → "Restore previous versions") and OneDrive Recycle Bin first — both are free and built-in. If those don't work, download Recuva to a USB drive and run a deep scan.
What's in this guide
- What Happens When You Empty the Recycle Bin
- HDD vs SSD — How Deletion Works
- Quick Diagnosis Table
- Self-Diagnosis Checklist
- Interactive Diagnostic Tool
- Built-in Windows Recovery (Try First)
- Free Recovery Software
- The Overlooked Cause Most People Miss
- What Not to Do
- When Files Are Probably Gone for Good
- Recovery Decision Flow
- If You Only Do One Thing
- People Also Ask
What Actually Happens When You Empty the Recycle Bin
Most people assume "empty Recycle Bin" means the files are gone. They're not. Not yet, anyway.
Windows uses a Master File Table — a directory that maps file names to their physical location on the drive. When you delete a file, Windows removes the entry from this table and marks that space as "available." But the data itself? Still sitting there, untouched, waiting to be written over.
Recovery software works by scanning the raw drive for file signatures and rebuilding what Windows stopped tracking. It's a bit like finding a book in a library after someone removed it from the catalog — the book's still on the shelf, the catalog just doesn't list it anymore.
According to Microsoft's own documentation on NTFS file systems, when a file is deleted, only the MFT entry and the $Bitmap allocation record are modified — the actual data clusters remain on disk until overwritten by new data. [source]
HDD vs SSD — How File Deletion Actually Works
Quick Diagnosis Table
| Situation | Recovery Likelihood | Best Method |
|---|---|---|
| Just deleted, computer unused since | Very High | Recuva quick scan |
| Deleted a few hours ago, light use since | High | Recuva deep scan |
| Deleted days ago, computer used normally | Medium | Recuva + PhotoRec |
| SSD drive (not HDD) | Lower | Check Previous Versions first |
| Drive formatted after deletion | Low–Medium | PhotoRec raw scan |
Self-Diagnosis Checklist
Quick Diagnostic Tool
Were the deleted files in a folder synced to OneDrive or Google Drive?
Built-in Windows Recovery (Try These First)
Method 1: Previous Versions (Shadow Copies)
Right-click the folder that contained the deleted file → select "Restore previous versions." If System Protection was enabled, you'll see timestamped snapshots. Open one, find your file, drag it out. Done — no software needed.
Method 2: File History
If File History was set up (Settings → Update & Security → Backup), open the folder where the file lived, click the History icon in the File Explorer toolbar, and browse to a point before the deletion.
Method 3: OneDrive Recycle Bin
If the file was in a OneDrive-synced folder, go to onedrive.com → Recycle Bin. According to Microsoft's OneDrive documentation, deleted files are retained in the OneDrive Recycle Bin for 30 days for personal accounts and 93 days for Microsoft 365 business accounts — completely independent of the local Windows Recycle Bin. [source]
Even if you've never consciously set up backups, Windows often enables System Protection by default on the C: drive. Right-click "This PC" → Properties → System Protection to check before downloading anything.
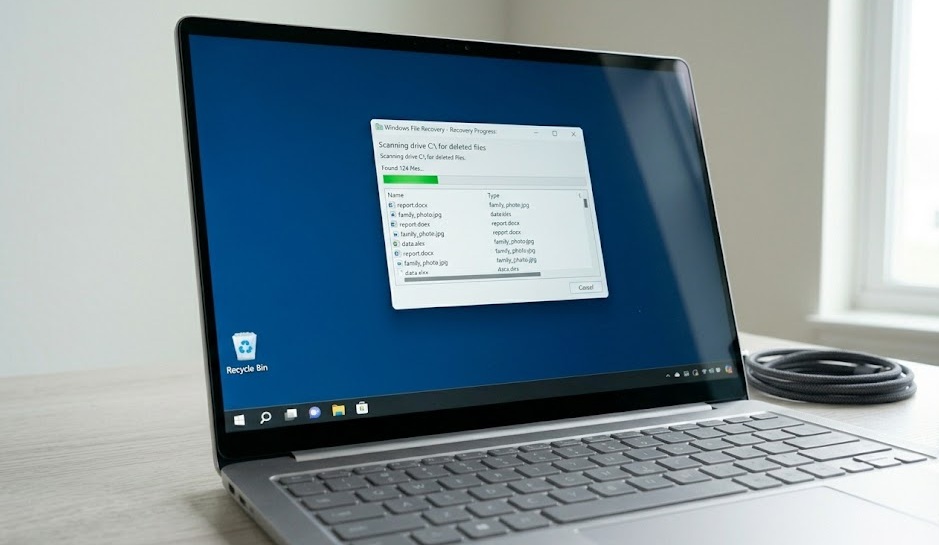
Free Recovery Software That Actually Works
Recuva (easiest, Windows)
Download from Piriform, install to a different drive than the one you're recovering from, run a deep scan. Green = high recovery chance, yellow = partial, red = probably gone. Save recovered files to an external drive or USB — never back to the same drive.
PhotoRec (most powerful, all platforms)
Free, open-source, recovers 480+ file types. In an independent benchmark by StorageReview comparing six recovery tools, PhotoRec recovered the most files from NTFS volumes in a simulated deletion scenario, outperforming three paid competitors on raw file count. [source] The UI is spartan but worth it for important files.
Disk Drill (Mac + Windows)
Free version lets you preview recoverable files before paying. Scan first, see what's there, decide if full recovery is worth it for your situation.
The Overlooked Cause Most People Miss
SSDs behave fundamentally differently from hard drives — and this catches a lot of people off guard.
Modern SSDs use a feature called TRIM, which tells the drive to zero out deleted data blocks in the background to maintain write performance. On an HDD, deleted files sit intact until something new overwrites them. On an SSD with TRIM, Windows can instruct the drive to physically erase those blocks within seconds or minutes of deletion.
AnandTech's SSD TRIM analysis showed that on Windows 10 and 11 with TRIM enabled, deleted file blocks can be zeroed within 30–60 seconds on idle SSDs — making software recovery significantly less effective than on spinning drives. [source]
This is the main reason Previous Versions and OneDrive are worth checking first on SSD-based machines — software recovery is genuinely less reliable on flash storage, so the backup routes become more important.
What Not to Do
Don't install Recuva to the same drive you're recovering from. Every byte of installation can overwrite deleted data.
Don't keep using the computer normally. Every download, autosave, and temp file is a potential overwrite.
Don't run multiple recovery tools at the same time. Pick one, run it completely, then try another if needed.
Don't save recovered files back to the same drive. Always use an external drive or USB stick as the destination.
When Files Are Probably Gone for Good
Recovery isn't always possible. These are the honest signals that you may be out of options:
- SSD with TRIM enabled and several hours have passed since deletion
- The drive was reformatted after the deletion
- Recovery software finds 0 recoverable files on deep scan
- The drive has physical damage (clicking, not detected)
- Files were on an encrypted drive and you no longer have the key
For truly critical data on an SSD, professional recovery services can sometimes extract data before TRIM fully completes — but it's expensive and not guaranteed.
Recovery Decision Flow
If You Only Do One Thing
Stop using the drive right now and check Previous Versions before reaching for any third-party software. It's built into Windows, takes 30 seconds to check, and works silently on most machines. When it works, it's done in under a minute — no download, no scan, no waiting.
People Also Ask
Yes, in most cases. Windows marks the space as available but doesn't erase the data. Recovery software can find and restore files before they get overwritten by new data.
No fixed time — depends on how much you use your computer. On HDDs files can stay intact for months. On SSDs with TRIM enabled, the window can be minutes to hours. Act fast regardless of drive type.
Recuva is the most beginner-friendly free option for Windows. PhotoRec is more powerful and recovers more file types, though the interface is less polished.
More so than on HDDs, yes. SSDs use TRIM to clear deleted blocks, which can happen within minutes. Recovery is still possible but the window is shorter — speed matters more on SSDs.